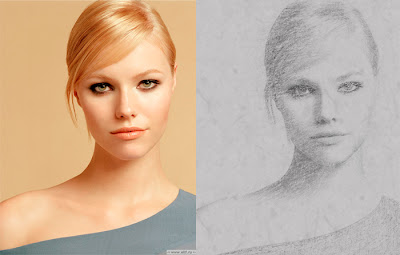
Open the image you want to turn in to sketch. Go Layer>New Fill Layer>Solid Color and chose grey color. Click OK.
Now on the bottom of the Palette there is an icon that says New Fill or Adjustment Layer, click on it and chose Pattern. From the window that will pop up click on the black arrow and chose Grayscale Paper, then from the Pattern menu chose Fibers 1, put the Scale value on 340%.Change this Layer Blend Mode in Soft Light.
Make a Duplicate of the Background Layer and put it on the top of the Layer Palette. Go Filter>Stylize>Glowing Edges and use this values: Edge Width 3, Edge Brightness 11, Smoothness 10, click OK. Now pres CTRL+I.
Now we need to make the picture black and white. Go Image>Adjustments>Desaturate. Put this Layer in Blend Mode Multiply and lower the opacity on 15%.
Make another duplicate of the background Layer and again put it on the top of the Layer Palette. Desaturate the picture again (Image>Adjustments>Desaturate)and open the Brightness/Contras option and rise the contras slider by +22.
Now go Filter>Noise>Add Noise...Amount 12%, Gaussian и Monochromatic and Layer > Layer Mask > Hide All.
Get the Pencil Tool and open the Brush pallet.
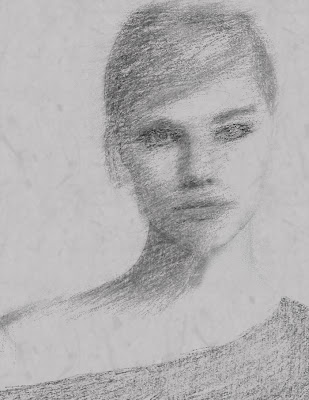
This is how it should look:
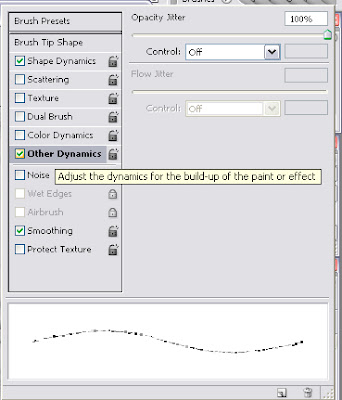
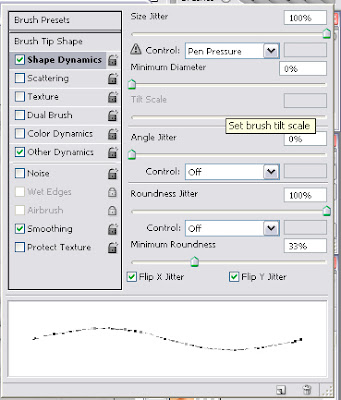
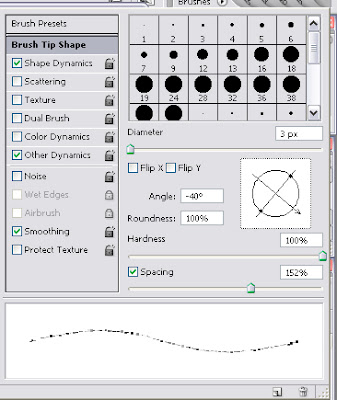
On the Layer Mask with the Pencil Tool brush away, feel free to brush everything on your image, this is what I had in the end:
No comments:
Post a Comment