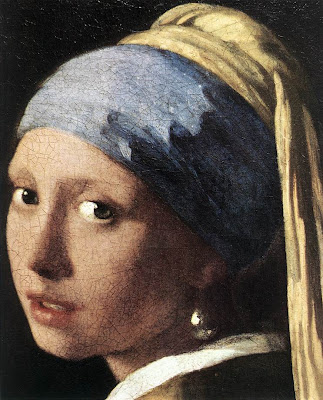
OK, lets begin, open the source image. this will be your background Layer, (the layer on which you will put your second image face, if you are confused now don't worry it will all clear up in a moment). Here is the source image I used:

Noe open the second image. I couldn't find any good source so I used this one:

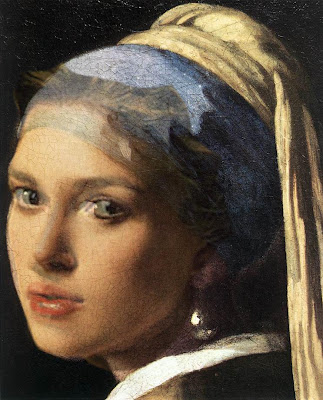
Now take the Polygonal Lasso Tool and cut out Keira's face and drag it to the Layer with the painting. Transform the face to fith the face of the painting. Lower the opacity to see throw for easer transform. See the picture below:

Add a Layer Mask to the face and mask with black color to erase the face were you don't want it to show, see picture below:
 If there is a face showing from the painting just add a new Layer above the background Layer and clone it with the black background from the painting.
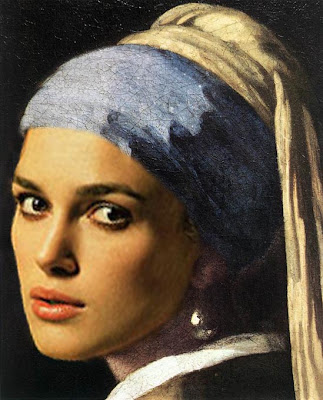
Now, back on the Keira Layer, open the Curves options and experiment with the values there, I just tweak the blue and the red colors a bit and then open the Selective color option and add very little blue and yellow color's.
Create a new Layer And put it on top in the Layer Palette, take the clone tool and clone the texture from the face of the painting on the new Layer. When you are going to finish that open the Blending Options and on the Default window experiment with the values where it says ''blend if''.
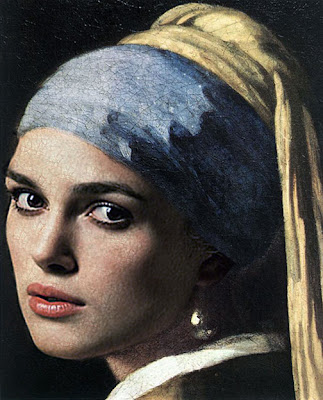
And you are done, here is mine result:


2 comments:
Wow. Great stuff. I wish I could do that. Maybe I'll give it a try.
wow thats crazy!
Post a Comment