Drawing is a form of visual expression and is one of the major forms within the visual arts.
OK, I am going to explain here the basics of pop art. Before we begin it is essential to know how to use Photoshop's Pen Tool. I dont have a tutorial for that, yet, but I will post it.
Open Your photo in Photoshop. Create two Layer's. The one above the photo, call it white, the one above the white Layer cal it outline. (To rename a Layer just double click on the Layer name and write) Turn the visibility off, on the white Layer. Take the brush open the brush palette and enter this settings:
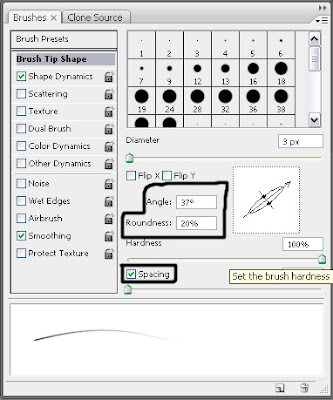
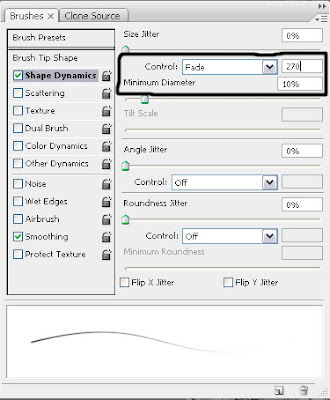
Now on the Outline Layer, take the Pent tool and trace the outline of the person on the photo. This is not that hard, add a point with the Pen Tool, select the add anchor point tool and add a anchor and edit it. If you want to see your progress click the visibility of the white Layer on. After a long work you should have something like the picture below:

Now on a new Layer color the skin. When you color the skin look at the original photo to see the source of the light. Just select the colors of the original image and brush them on the new Layer. Or if you like you can use Burn and Dodge Tool to do the same. You should have something close to this:

It's a good idea to use separate Layer for all parts of the face (Lips, eye's, ear's...)
Now for the hair this is what will do. Create a new Layer. Trace the outline of the hair and color it with the color of your choice. This is going to be your final color look. Take the smudge tool, strength 85% and brush size 1-15 soft brush. You have to use different size brushes. First smudge the edges. Look at the picture below:
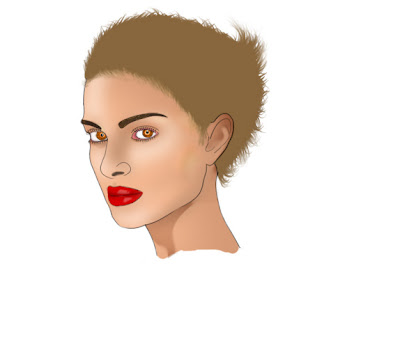
Now take the Dodge tool, exposure:15% brush size 3-10, Mode: Midtones, brush away with this mode, than when you are finished change the mode to Highlights and do the same. After this Take the Burn Tool and repeat the same process. After some time you should have something like the picture below:
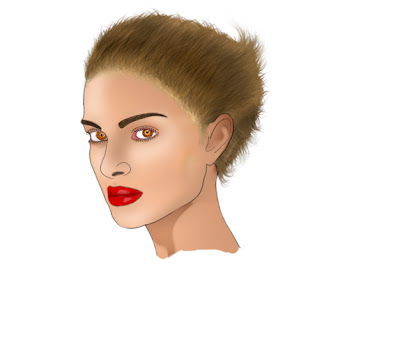
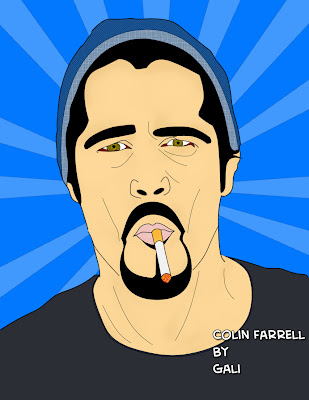
And here is the final result:



No comments:
Post a Comment