
OK, lets begin. Start Photoshop and create a new document with these settings "Width:" enter 600, for "Height:" enter 600, "Resolution:" enter 72, and "Background Contents:" enter White. Click "OK."
Create a new Layer and call it shadow. Take the Rectangular Marquee tool and make a selection. This selection is going to be the front of the box. Fill it with black color. Turn the visibility off. Just click the eye next to the Layer. Don't deselect.
Create a new layer, and fill it with a color of your choice. This color will be your background color on your product box. Now every color you want to put on your box first create a new Layer then fill it with the color. Look at the picture below for better understanding:
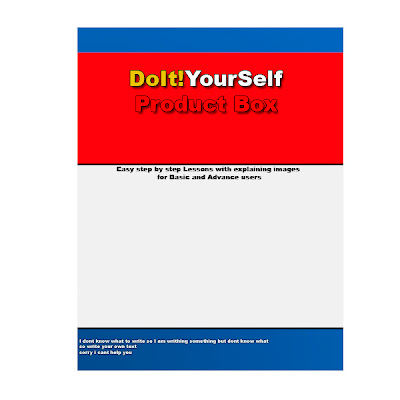
Also type your text on it as you can see on the preview above.
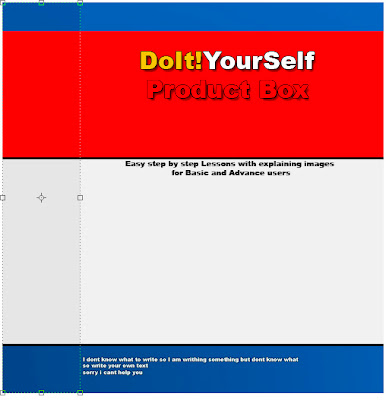
Now Merge all the Layer with the box colors without the text and the white background. Take again the Rectangular Marquee tool and make a selection in the middle of the box. Press Ctrl+J, this is going to make a duplicate of the selected part. This is your side of the box. On the side of the box (the layer you duplicated) reduce the Brightness a little (-20). This is done so you can see a shadow on the side. Now put this Layer on the left side of the front of the box, see image below:
OK here comes the tricky part. Merge the text you put on the front of the box with the front box. After that get the Move Tool go Edit>Free Transform and select distort. Now put you mouse cursor over the top right handle and move it a little bit down. Do the same with the bottom right handle. Look at the picture below:
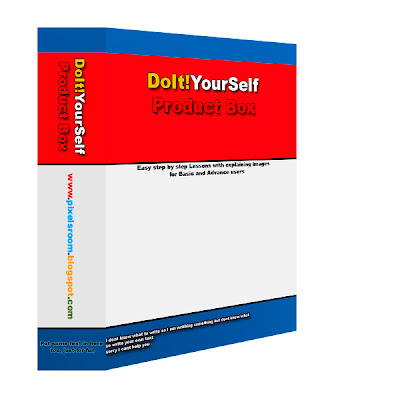
Now do the same with the side part of the box.
When you are done put the visibility of the shadow Layer on. Distort it like on the picture below:
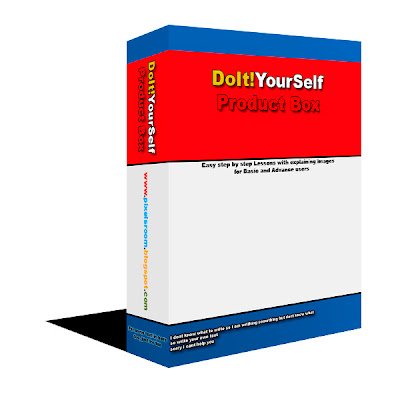
Now add a Gaussian Blur to this Layer, Radius 10 pixels and lower the Opacity to 50%.
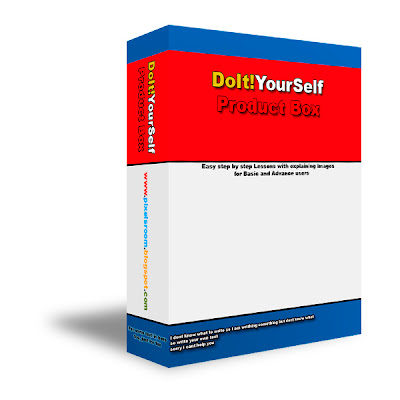
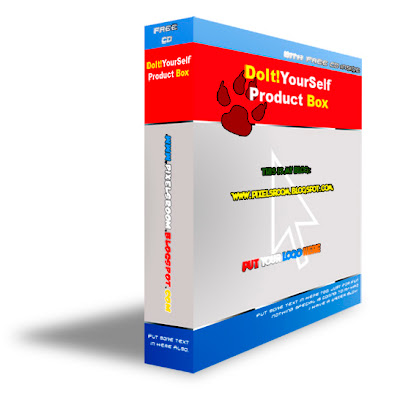
And thats it. You have your Product Box here is my final image:


No comments:
Post a Comment