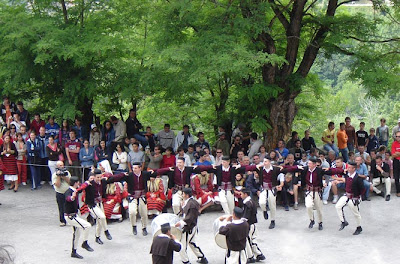
Lets begin. Open your picture in photoshop, the one you want to add the color. Take any kind of picture. Here is mine:

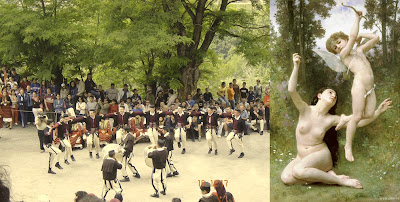
Now open the second picture, the one that has the color you want to add to your original picture. Here is mine picture:

This next step is where the magic happens. Go Image>Adjustments>Color Range.......This window will show:

OK, in the window in the "image statistics" part, there is the source option. Click on the arrow that points to down. There you will see every picture you have opened in photoshop. Choose the second picture you opened, the one with the color you need.
This is what I got by merging my two images:

You have to admit there is a big difference. With the window still open you can try to experiment with the sliders where it says "Image Options".
After you're done click OK.
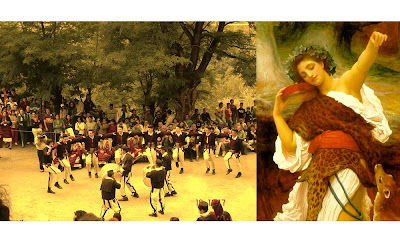
If you are not satisfied with your result you can do this. Go Edit>Fade Match Color, this is only possible after you close your Match Color window. And it can be done with every other option in Photoshop. From the box that will pop out you can lower the Opacity if you want or change the Blend Mode, and that's it you're done. Here is some more examples:


This effect is very good for creating that effect of old picture, or sepia effect.......


No comments:
Post a Comment