Sunday, May 27, 2007
Pop Art (drawing basics)
Drawing is a form of visual expression and is one of the major forms within the visual arts.
OK, I am going to explain here the basics of pop art. Before we begin it is essential to know how to use Photoshop's Pen Tool. I dont have a tutorial for that, yet, but I will post it.
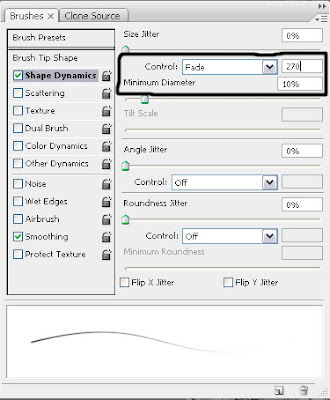
Open Your photo in Photoshop. Create two Layer's. The one above the photo, call it white, the one above the white Layer cal it outline. (To rename a Layer just double click on the Layer name and write) Turn the visibility off, on the white Layer. Take the brush open the brush palette and enter this settings:
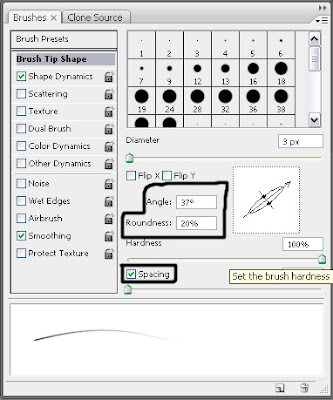
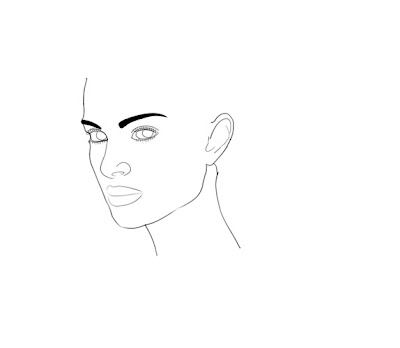
Now on the Outline Layer, take the Pent tool and trace the outline of the person on the photo. This is not that hard, add a point with the Pen Tool, select the add anchor point tool and add a anchor and edit it. If you want to see your progress click the visibility of the white Layer on. After a long work you should have something like the picture below:
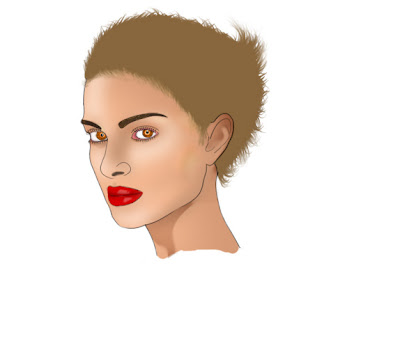
Now on a new Layer color the skin. When you color the skin look at the original photo to see the source of the light. Just select the colors of the original image and brush them on the new Layer. Or if you like you can use Burn and Dodge Tool to do the same. You should have something close to this:
It's a good idea to use separate Layer for all parts of the face (Lips, eye's, ear's...)
Now for the hair this is what will do. Create a new Layer. Trace the outline of the hair and color it with the color of your choice. This is going to be your final color look. Take the smudge tool, strength 85% and brush size 1-15 soft brush. You have to use different size brushes. First smudge the edges. Look at the picture below:
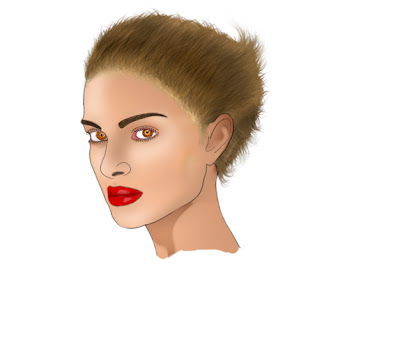
Now take the Dodge tool, exposure:15% brush size 3-10, Mode: Midtones, brush away with this mode, than when you are finished change the mode to Highlights and do the same. After this Take the Burn Tool and repeat the same process. After some time you should have something like the picture below:
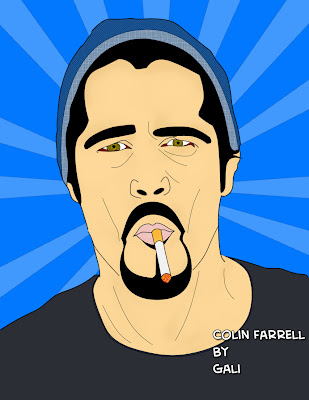
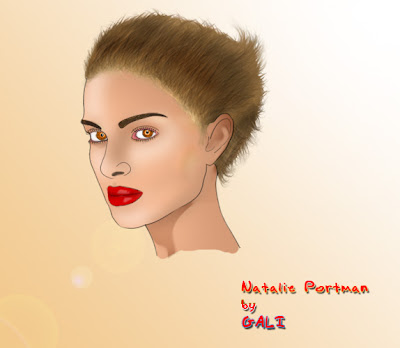
And here is the final result:
Wednesday, May 23, 2007
Realistic Photo Print, (curl edges)
First create new canvas, a bit bigger then the photo you are going to use in this tutorial. Fill it with white.
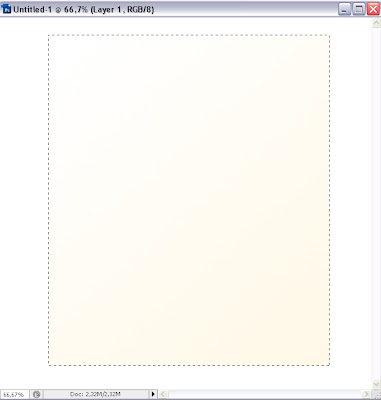
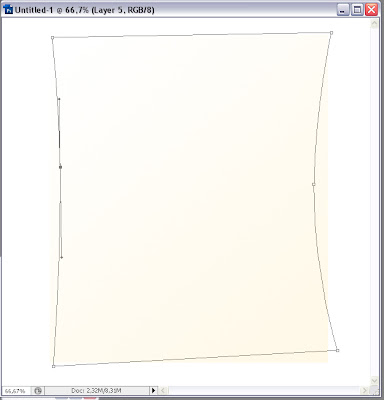
Create a new Layer, take the Rectangular Marquee Tool And create a selection with it, and take the Gradient tool. Make the colors white and (fef8e7), and make a diagonal line with the Gradient tool. Look at the picture below:
Don't deselect yet, go Select>Modify>Contract and add a value of 4, or what suits you best. Create new Layer on top of all the others , dont deselect, and fill the selection wit what color you want. Deselect.
Now open the photo and put it on top in the layer palette. Create a clipping mask with the previous layer. Create a new layer and put it on top. Take the Gradient tool and set it black to transparent. Remember the layer we used to create a clipping mask, well click on it to make a selection (not the photo layer, the layer under it). With the gradient tool draw a diagonal line, but very short from the top left corner to the center. Look at the picture below:
Do the same with the down right corner but with white color. Reduce the opacity on both layers to 65%.
With the selection still active create a new layer and put it under the first gradient layer we did. Right click in it and select make work path and enter a value of 10.
This will be the shadow and the main step for this tutorial, because this step will give the final look to the photo.
Ok, take the add anchor point tool and curl the edges of the path like in the picture below:
Now right click in it and select make selection, 0 . Fill this selection with black, lower the opacity to 50%, go filter>blur>Gaussian blur and enter a value of 4 or 5 or 6.
If the curls are not what you expected take the move tool and edit them, but just a bit.
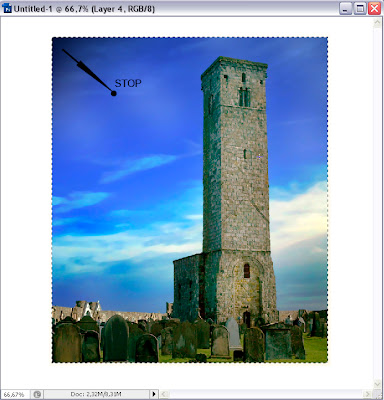
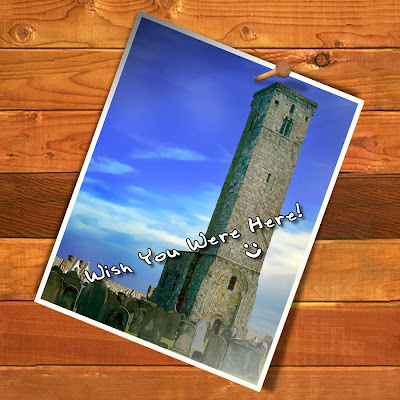
Here is the final version:
Tuesday, May 15, 2007
Saturday, May 12, 2007
Create a sketch image
Open the image you want to turn in to sketch. Go Layer>New Fill Layer>Solid Color and chose grey color. Click OK.
Now on the bottom of the Palette there is an icon that says New Fill or Adjustment Layer, click on it and chose Pattern. From the window that will pop up click on the black arrow and chose Grayscale Paper, then from the Pattern menu chose Fibers 1, put the Scale value on 340%.Change this Layer Blend Mode in Soft Light.
Make a Duplicate of the Background Layer and put it on the top of the Layer Palette. Go Filter>Stylize>Glowing Edges and use this values: Edge Width 3, Edge Brightness 11, Smoothness 10, click OK. Now pres CTRL+I.
Now we need to make the picture black and white. Go Image>Adjustments>Desaturate. Put this Layer in Blend Mode Multiply and lower the opacity on 15%.
Make another duplicate of the background Layer and again put it on the top of the Layer Palette. Desaturate the picture again (Image>Adjustments>Desaturate)and open the Brightness/Contras option and rise the contras slider by +22.
Now go Filter>Noise>Add Noise...Amount 12%, Gaussian и Monochromatic and Layer > Layer Mask > Hide All.
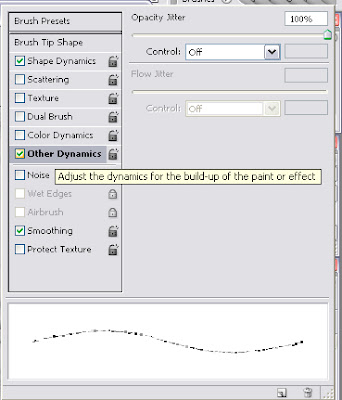
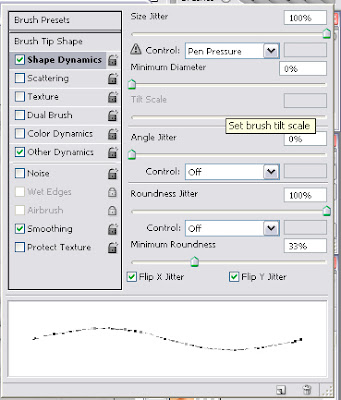
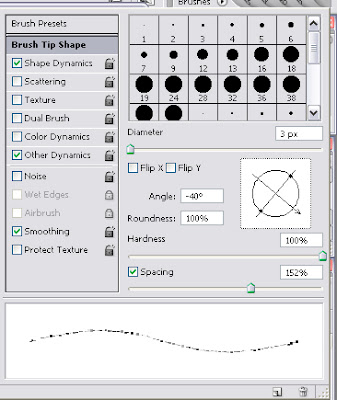
Get the Pencil Tool and open the Brush pallet.
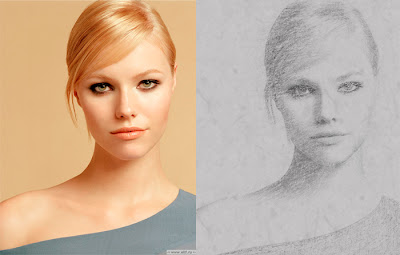
This is how it should look:
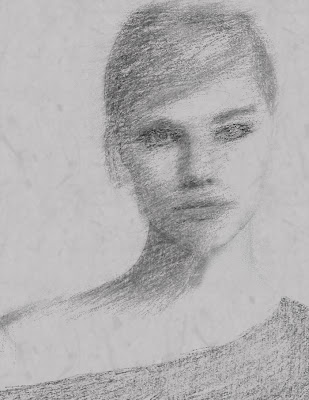
On the Layer Mask with the Pencil Tool brush away, feel free to brush everything on your image, this is what I had in the end:
Wednesday, May 9, 2007
Merging two images, Keira Knightley and the gitl with the pearl earing
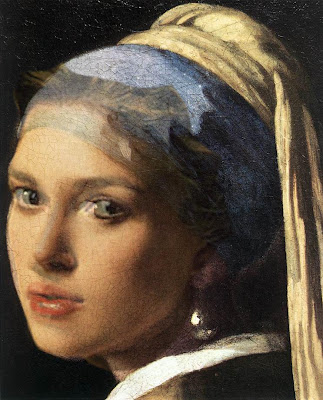
OK, lets begin, open the source image. this will be your background Layer, (the layer on which you will put your second image face, if you are confused now don't worry it will all clear up in a moment). Here is the source image I used:
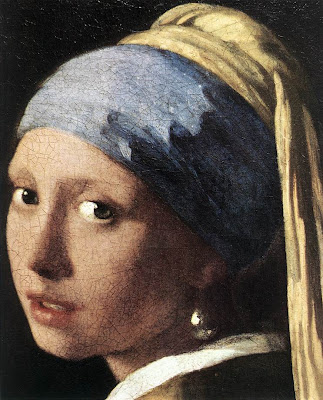
Noe open the second image. I couldn't find any good source so I used this one:
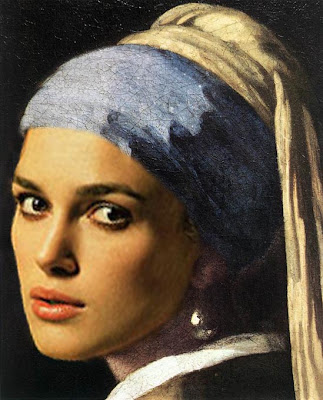
Now take the Polygonal Lasso Tool and cut out Keira's face and drag it to the Layer with the painting. Transform the face to fith the face of the painting. Lower the opacity to see throw for easer transform. See the picture below:
Add a Layer Mask to the face and mask with black color to erase the face were you don't want it to show, see picture below:
If there is a face showing from the painting just add a new Layer above the background Layer and clone it with the black background from the painting.
Now, back on the Keira Layer, open the Curves options and experiment with the values there, I just tweak the blue and the red colors a bit and then open the Selective color option and add very little blue and yellow color's.
Create a new Layer And put it on top in the Layer Palette, take the clone tool and clone the texture from the face of the painting on the new Layer. When you are going to finish that open the Blending Options and on the Default window experiment with the values where it says ''blend if''.
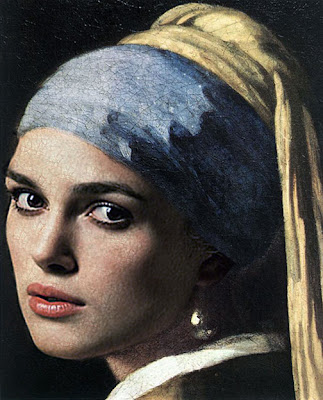
And you are done, here is mine result:
Sunday, May 6, 2007
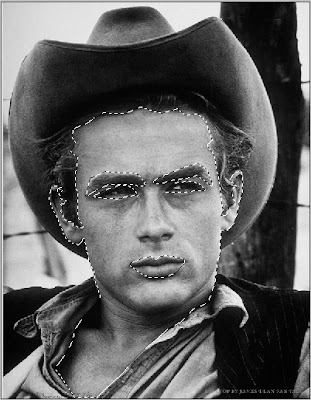
Colorization
Film colorization, film colourisation, film colourization or film colorisation is any process that involves adding color to black and white, sepia or monochrome moving-picture images. The earliest examples date back to the early 20th century, but it has become more practical and more common since the development of digital image processing.
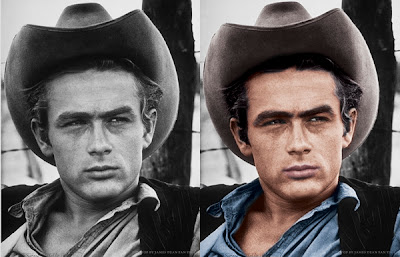
It has been done with different effects for various reasons, including as a special effect or as a form of restoration for color films. The process has also garnered controversy because of its use to reissue black and white films and television shows in color. Some have claimed that this use of the process is a form of "cultural vandalism".The basic of this tutorial is to show how the Curves option works in Photoshop and to explain how to colorize those old black and white photos.
First find a god black and white photo with big resolution, the bigger the better. Open it in Photoshop. Now go Image>Mode>CMYK.
Now I am going to explain how I did this on my picture source, but fill free to use your own. First of all get your selecting tool, I used Polygonal Lasso Tool, you can use your own, and select just the skin. Dont try to be to precise, because will fix that in just a moment.
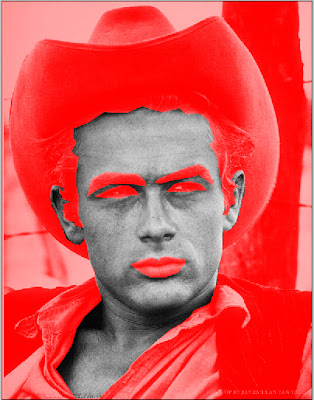
OK, after you select the skin push tha button that says Edit in Quick Mask Mode, everything will turn red except the selected skin. Now go Filter>Blur>Gaussian Blur and select a value that fits you, (the object here is to soften the edges of the mask)
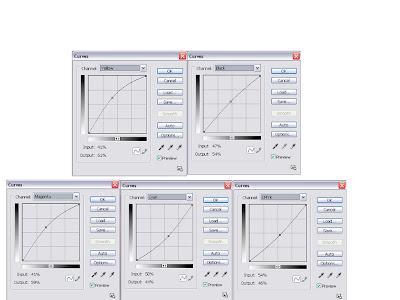
Now Exit Quick Mask Mode. Don't deselect, hold Alt key and pres the Add New Adjusment Layer button on the Layer Palette. From the box that pop's up select Curves. Chose your colors and when you are done press OK.
Here are my values, but you can use your own:
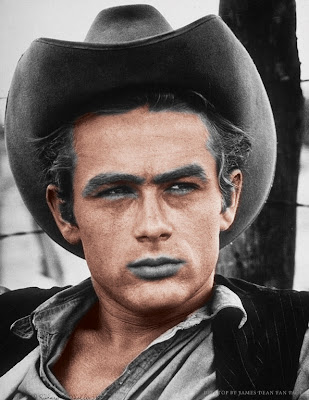
Here's how it should look like:
The rest is the same, select hair, gaussian blur, new adjusment layer, enter values, press ok, and thats it.
Here is my final result:
Thursday, May 3, 2007
Create Snow
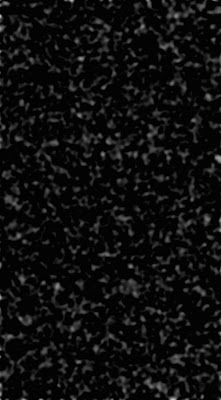
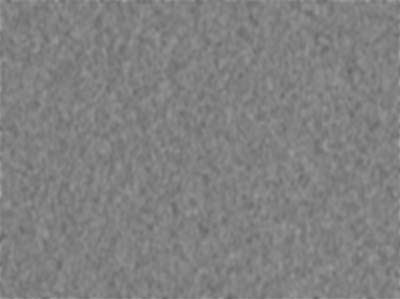
Open the picture that you want to put snow in it. Thats your background Layer now. Create a Layer Group above the Layer group. In the Layer Group Create a new Layer. Fill this Layer with 50%Gray. Now go Filter > Noise > Add Noise... 50%, Gaussian Distribution, Monochromatic. After that go Filter > Blur > Gaussian Blur... Radius 4.0 pixels.
You should have something like on the picture below:
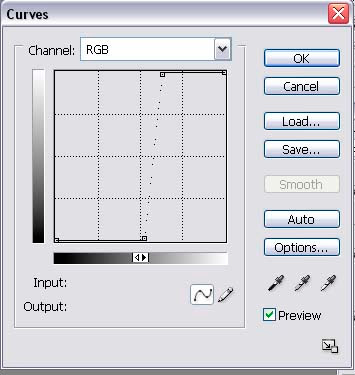
OK, now go Layer -> New Adjustment Layer -> Curves,
this too is in the Layer Group, on the top. Here are my values,
but feel free to experiment with your own:
Create a Clipping Mask between these two Layers
(hold Alt key and place it between the two Layers, an icon like a movie camera will appear, click with the mouse, and thats it.)
You should have something like the picture below:
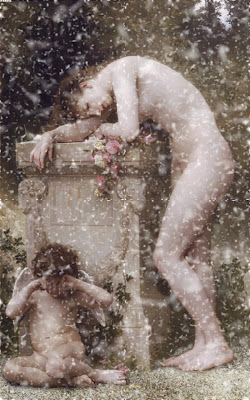
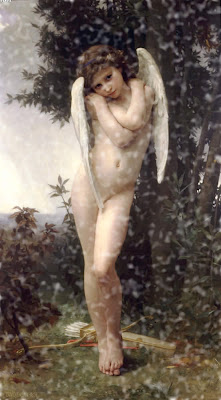
Put the Layer Group in Blend Mode: Screen and lower the Opacity on 90%. Here is what you should have so far:
Duplicate the Layer Group. Open the duplicated Layer Group select the two Layers inside and duplicate them two. Now shrink them to 1/4 of their size and put it in the left up corner. Do the same with the rest of them. Right up corner, down left corner and down right corner.
We are doing this to get a depth in the picture. here is what I got:
If there are lines showing use the Smudge Tool to get reed of them by.
Go beck to the first Layer Group and make a duplicate of it and put the duplicate under the original Layer Group. With the Move Tool selected, make this Layer 200% larger, here are the values, and click on the link like in the photo:
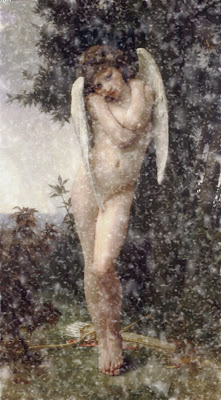
Open the Hue/Saturation and lower the Saturation a bit to get a cold look. And thats it. Here is mine result:
Stained Glass
The term stained glass refers either to the material of coloured glass or to the art and craft of working with it.
As a material the term generally refers to glass that has been coloured by adding metallic salts during its manufacture. The coloured glass is crafted into stained glass windows in which small pieces of glass are arranged to form patterns or pictures, held together (traditionally) by strips of lead and supported by a rigid frame.
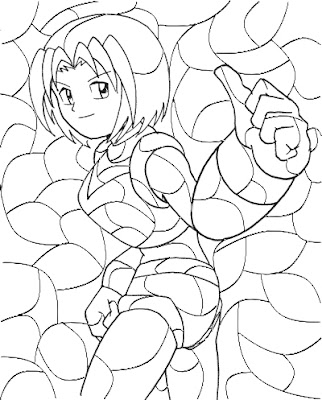
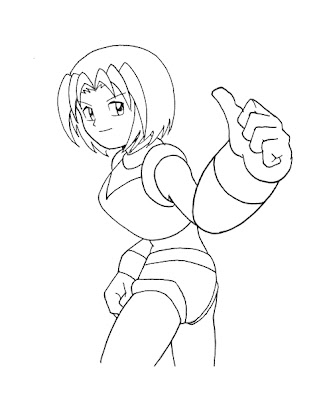
First find an image that is a line art, (just a black line), here is mine:Create another Layer and color it in white, then click the eye next to it to make it invisible.
Then go back to the original Layer, (the background Layer) and select just the black outline.
Copy that outline in a new layer, and put that Layer on the top of the Layer Palette.
Create another Layer and put it on top of the Layer Palette.
Get the Pen tool and start drawing lines, like the ones on the picture, make this lines one pixel smaller then the original outline of the drawing:
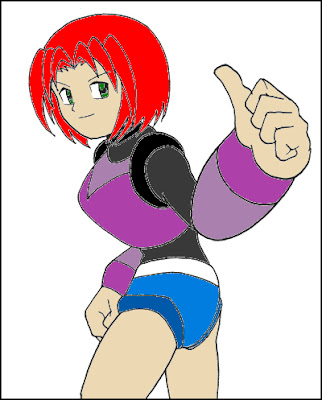
OK, the hard part is over. Now on a new Layer color your drawing, just the girl, (skin, hair, clothes,). Make the Layer with the lines you drew with the Pen Tool invisible. Here is howI colored my picture, you can use your own colors if you want:
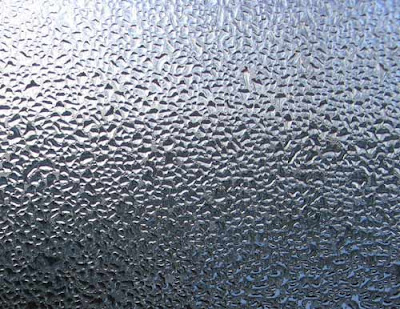
Now you need a texture, if you cant find any, use this one, i found it on Google and put it under the out line, then experiment with the blending options :
Remember that white Layer we created in the beginning and made it invisible, well make it visible. Now color that Layer with what ever color you want.
After that, give the outline drawing and the lines with the pan some Bevel and Emboss. Don't worry about the values, put your own, there aren't any universal values for this, its up to you.
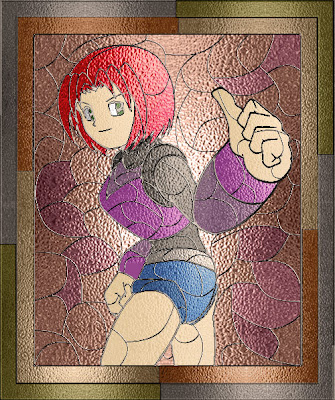
Its a good idea to put more Layers to colorize the background, here is what I mean, and my final version: